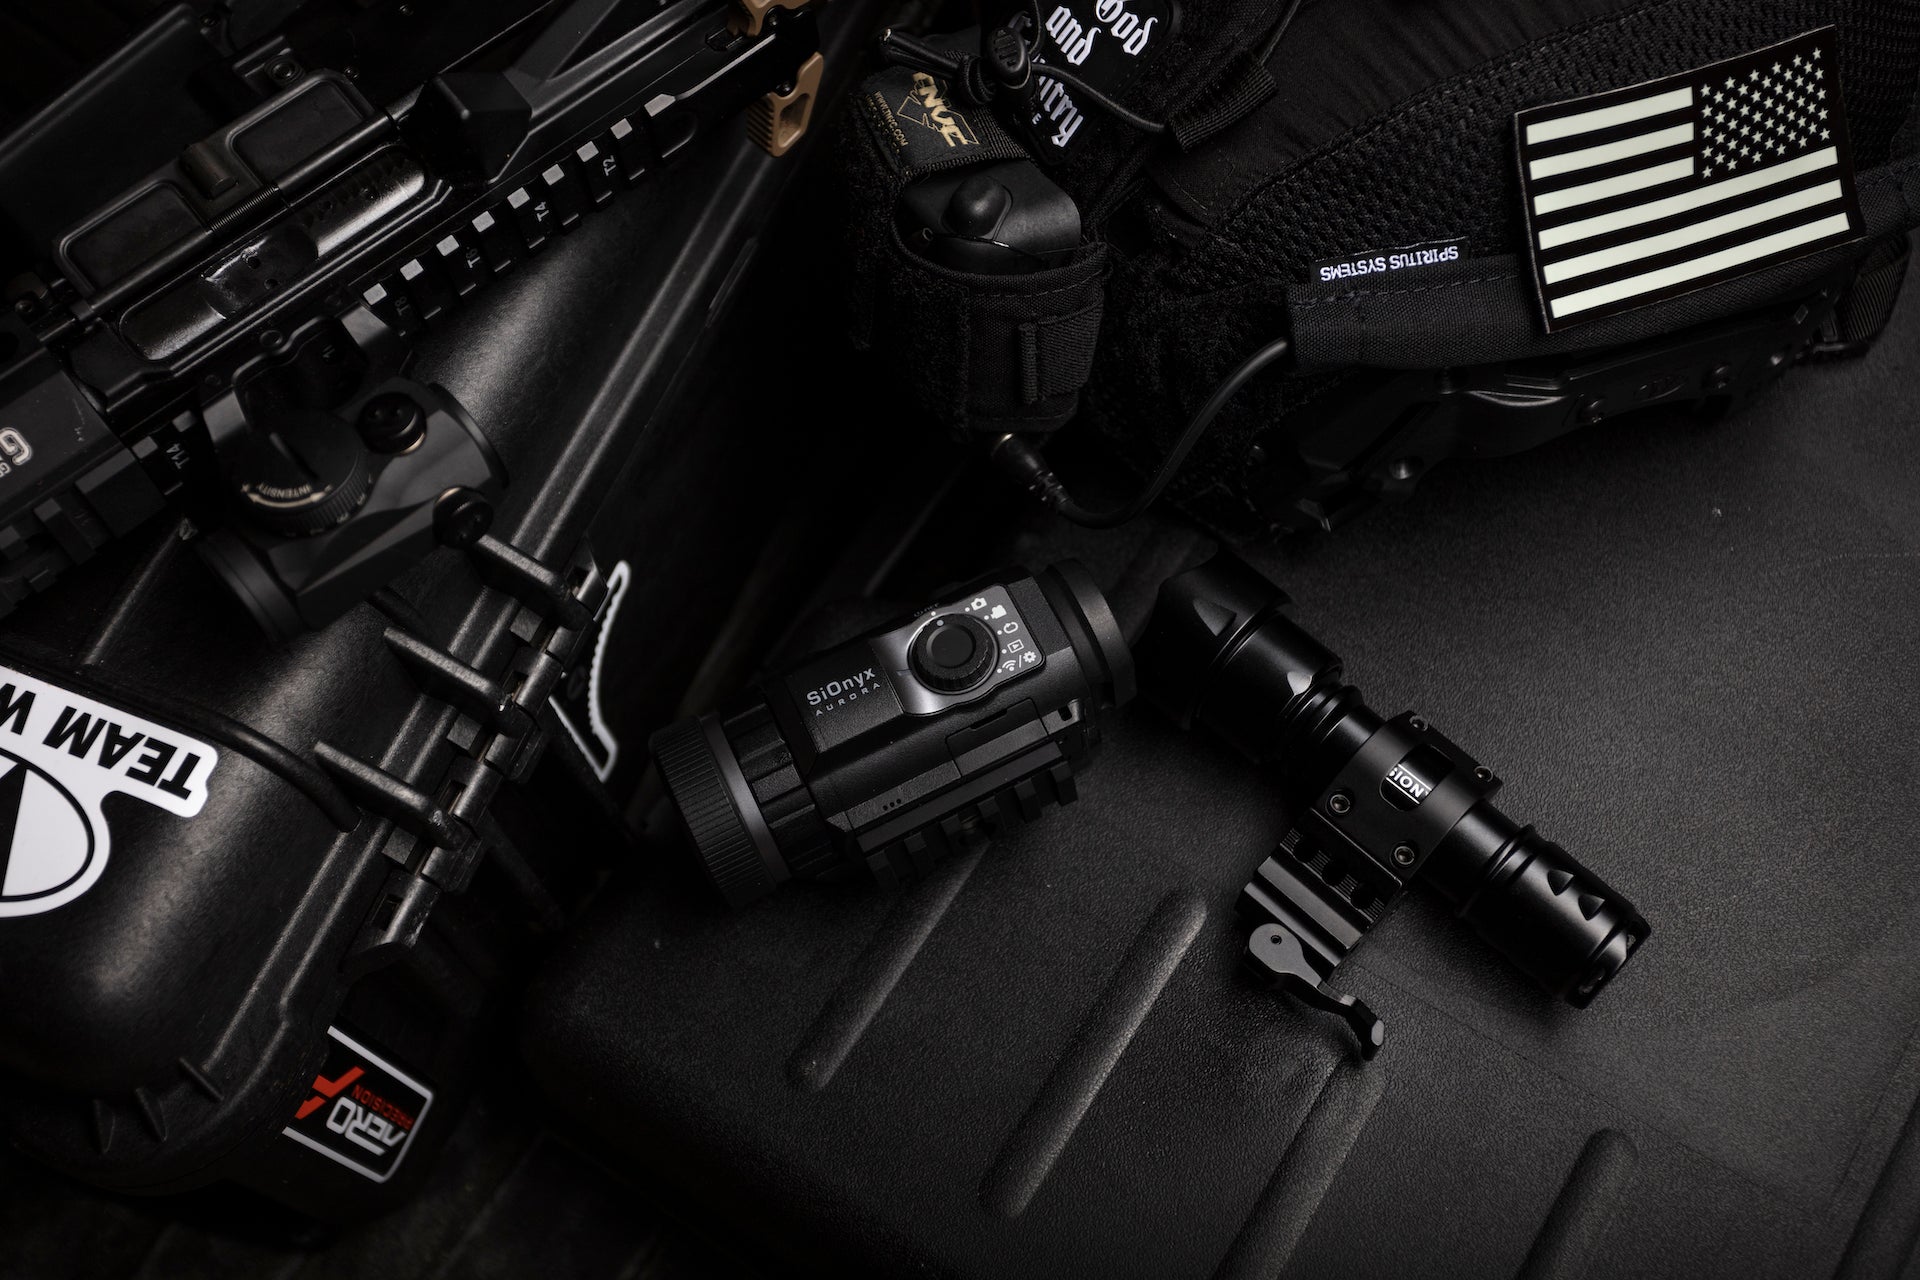
If you own a SIONYX Aurora Camera, you know it’s easy to fall in love with the colors the Aurora produces in optimal lighting conditions. Unfortunately, we can’t always rely on ambient light sources, or illumination from the moon & stars to cooperate.
Don’t let adverse conditions and pitch-black scenarios ruin your night of fun. Our new IR (infrared) IlluminatorKit gives you the ability to see in total darkness, while preserving essential details and color.
Infrared light is invisible to the naked eye. Therefore, the use of an IR light source will only be visible to other night vision capable devices. The Aurora does not require IR light to function, but our sensor can see wavelengths that traditional analog tubes can’t.

Figure 1.0
What’s included in the Kit?
In this overview, we’ll be going over the contents you’ll receive and how to utilize the included mounts and accessories.
Each Kit will include our QuickStart guide & instructions, a hardcase, 940nm IR illuminator, a Picatinny rail & light mount for the Aurora or your rifle, 2 batteries, a charger, and a lanyard for handheld use.

IR Light Overview
Taking a closer look at the light, here is an example with and without IR illumination. The use of IR light allows you to get a crisp image without the use of visible white light (See Figure Below).

AURORA WITH IR EYESIGHT/WITHOUT IR
*Please Note: Even though IR light at certain wavelengths is invisible to the naked eye, DO NOTstare directly at the IR illuminator.
Charging the IR Illuminator
Now that you’ve familiarized yourself with the Kit. It’s time to charge & mount the light.
There are a few ways you can mount the IR light. Either directly to your Aurora for a handheld experience, or on a rifle platform.
Start by screwing the back of the IR light off. Insert the battery as shown on the guide.
Once inserted, the fastest way to see if it is functioning is to turn off the lights, set your Aurora to night mode, and look at the illuminator beam through the eye piece only. It should be visible to the Aurora only.
Pic Rail Mounting Options
Now take your included Picatinny rail mount and place it on the 1/4” 20 thread on the bottom of your Aurora. Make sure the mount is tight and secure by using a screwdriver or coin.
Next, use the included Allen wrench to loosen the mount as shown on the quick start guide. Then, clamp your mount to the bottom of the picatinny rail on the Aurora.
Depending on your use, you can connect it to your rifle, or use it as a handheld monocular. You can reverse the mount anytime by adjusting it to the opposite orientation.
Ensure your illuminator is facing the same direction as Aurora.

The IR Kit is a great add-on to get the full color night vision experience. Now you can take your Aurora anywhere and perform in virtually most conditions thrown at you.
Additional Resources
Tutorials: https://youtube.com/playlist?list=PLcE_w7UHKH099q7g4q8LbHR9Zo_iSrC6c
Manuals & Guides: https://support.sionyx.com/support/solutions/61000127393
Support Center: https://support.sionyx.com/support/home


Share:
WiFi Improvement & Safety Update
SIONYX Aurora Pro vs Black Night Test